The Sweet Rewards of High-Altitude Baking

Make High-Altitude Banana Bread with Megan Joy

Living at high-altitude requires a bit of adjustment, especially when it comes to measuring out flour, sugar and eggs in the kitchen. Baking at high altitudes can be a bit of a deflating experience, often returning crumpled-looking cakes in place of the fluffy sponge on the cover of the recipe book. However, with a few refinements and a bit of practice and precision, you can soon be pulling a batch of moist, yummy banana bread out of the oven, even at 8,000 feet.

As you probably know, increased altitude means decreased air pressure. When it comes to baking, this means that your cakes and breads will rise more easily, lose moisture faster and often form gas bubbles that can leave your sponge coarse instead of velvety.

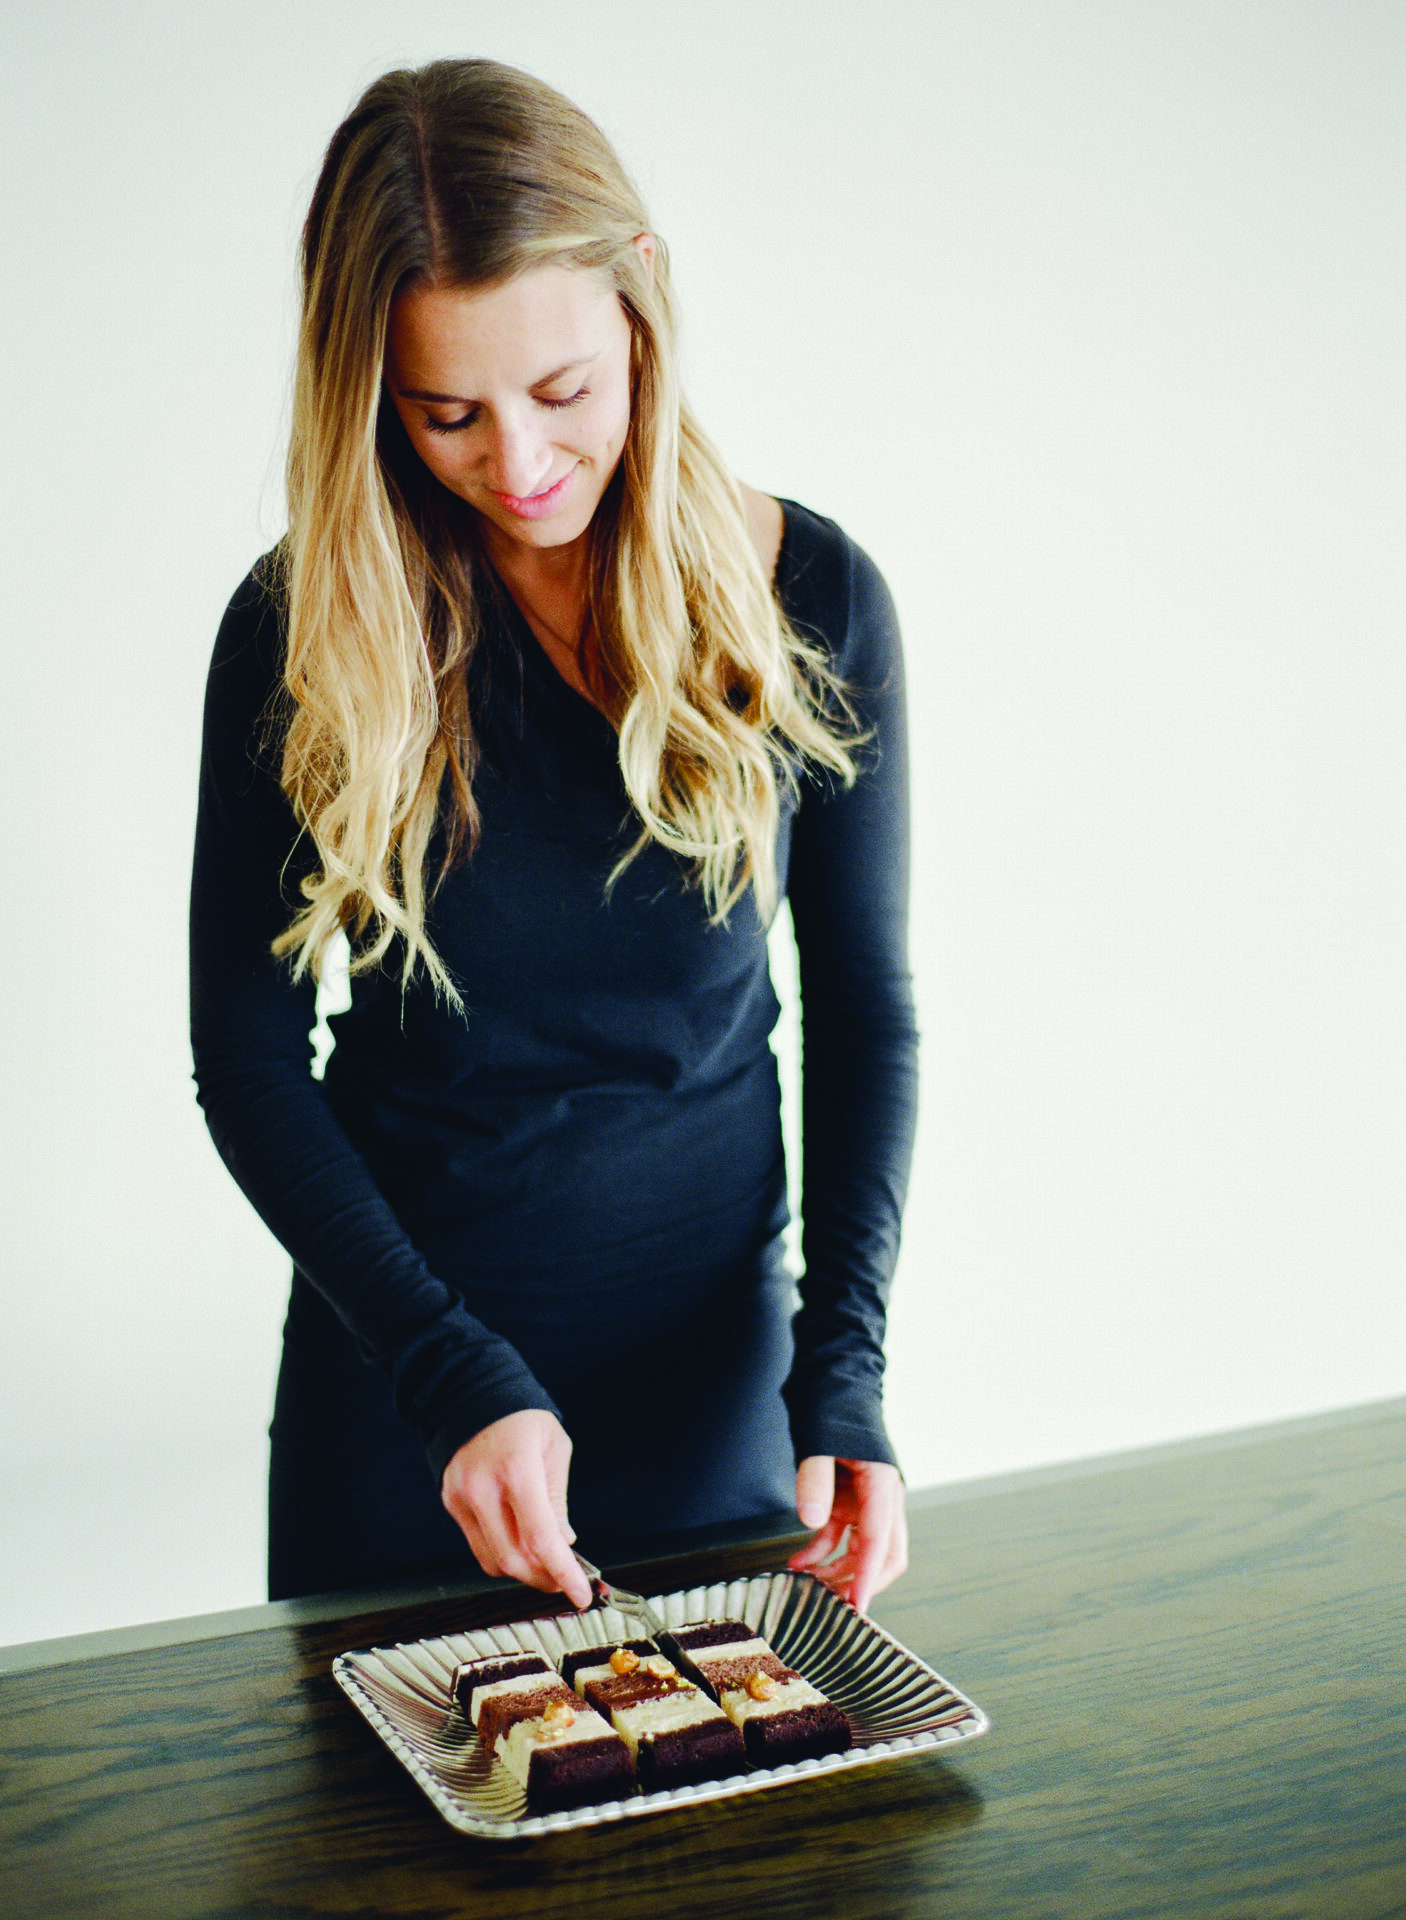
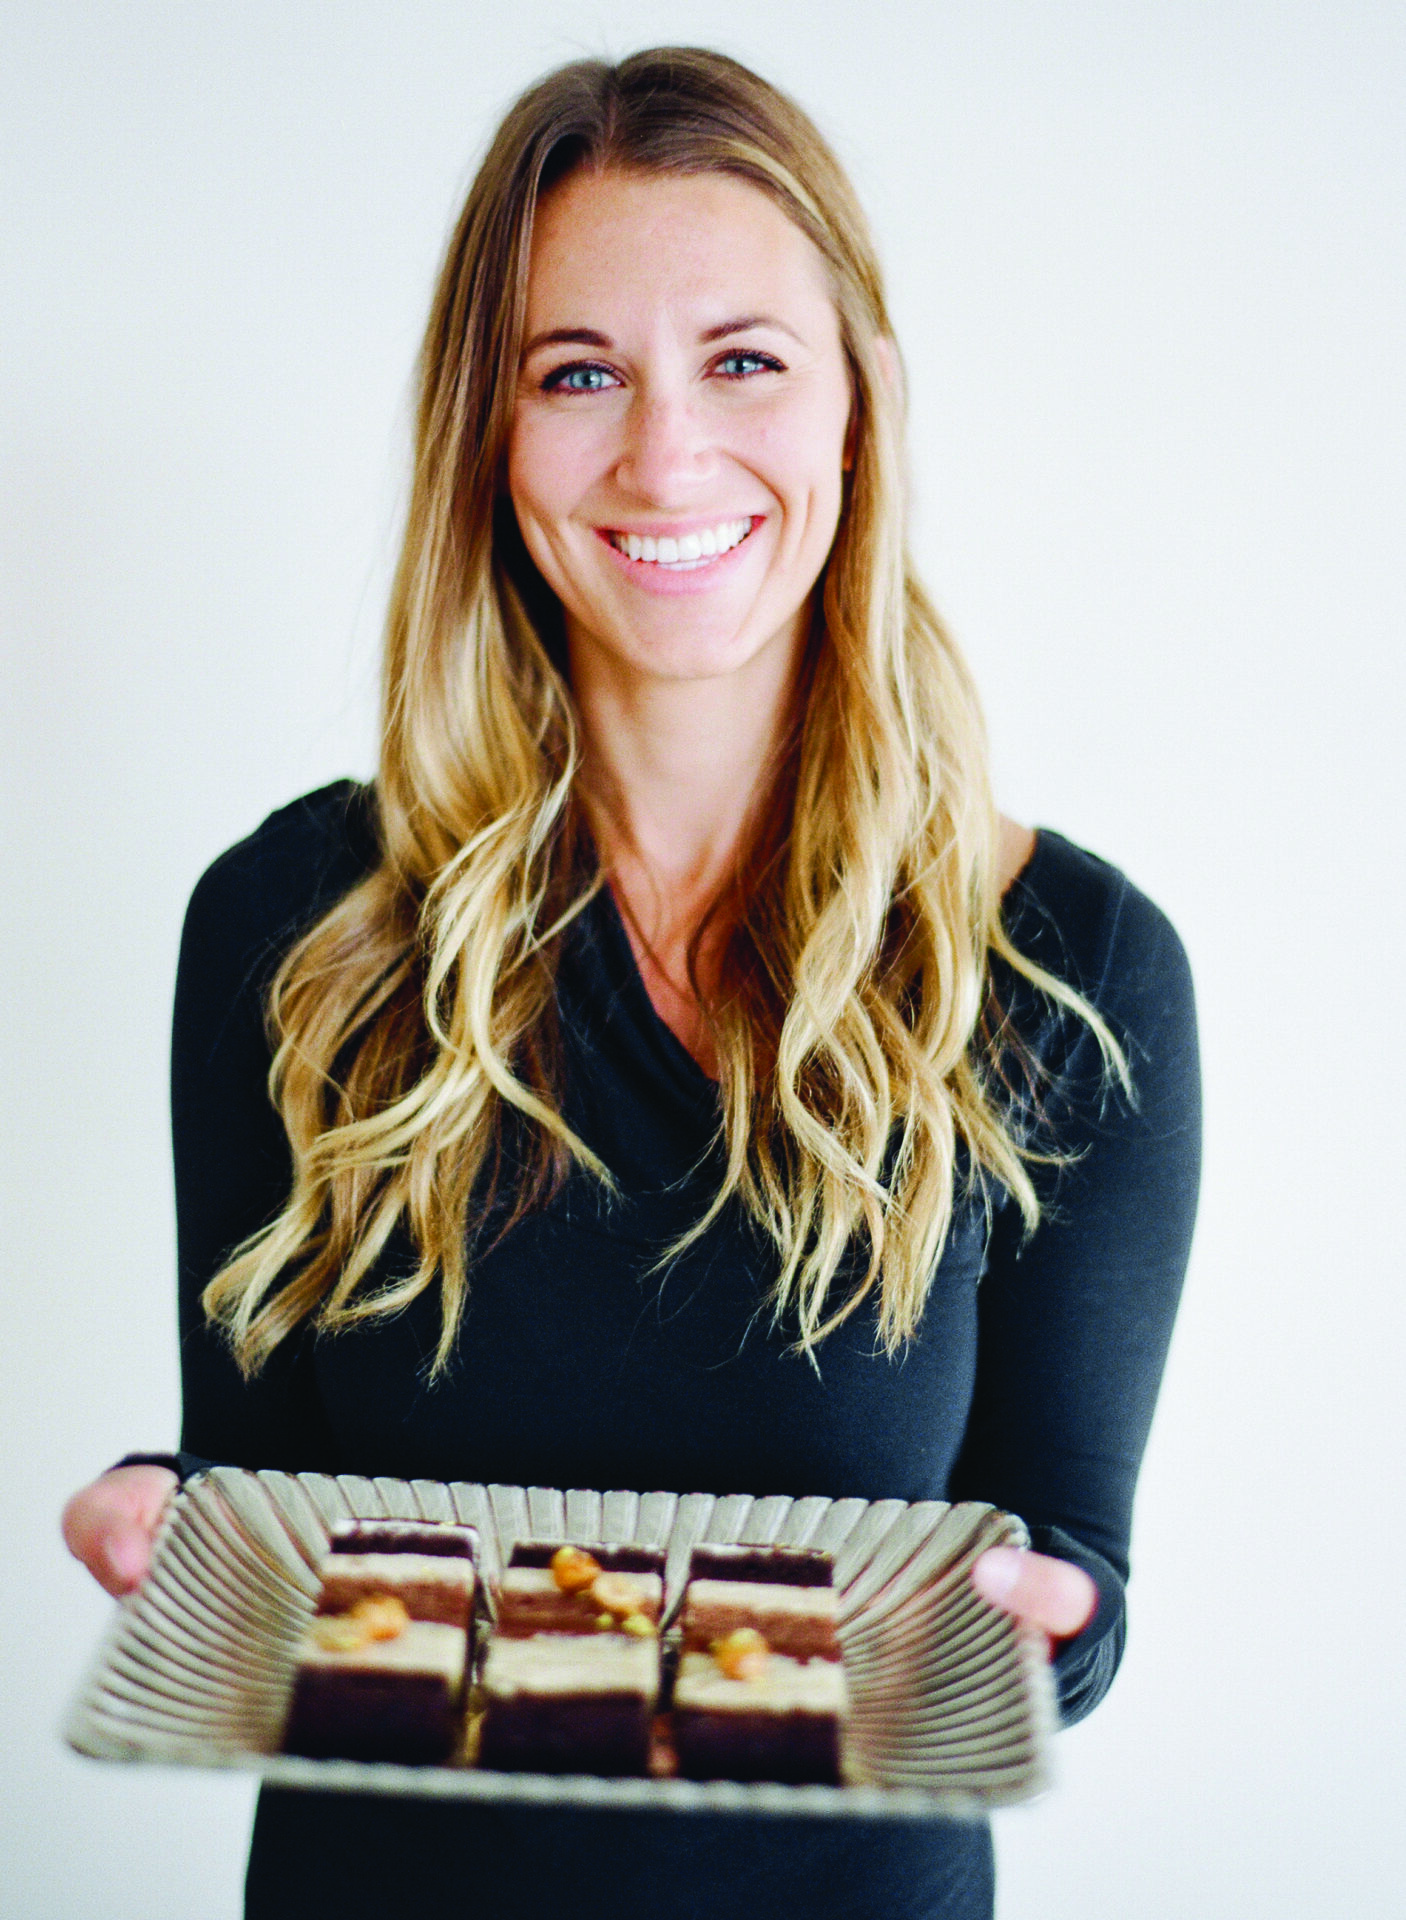
Photos courtesy of Megan Joy Cakes

Pastry chef Megan Clark, founder of the bespoke cake studio Megan Joy Cakes in Eagle, has mastered the art of high-altitude baking. Though she trained at Chicago’s prestigious French Pastry School, she found she still had some learning to do when she moved to the mountains.

“I’ve always loved baking and was intimidated that everything I knew would be lost when I moved to Vail. So, I just kept trying recipes and making notes until I got the results I wanted,” says Clark. She was forced to uncover the secrets of high-altitude baking in a trial-by-fire when she was commissioned to prepare a variety of desserts for a world-renowned pastry chef at a cooking class in Beaver Creek. “Some of the recipes came out fine, while others were definitely affected by the altitude,” she recalls.

Following this experience, she persevered in pursuit of the perfect cake and her trial-and-error approach proved to be the winning formula; she has since had her work featured in world-renowned publications such as Martha Stewart Weddings, Harper’s Bazaar and Vogue. If you’re keen to get your apron on and give it a try, her advice for starting out with high-altitude baking involves two key adjustments that make up for the loss of moisture loss by changing your proportions and a pinch of courage.

"I would tell anyone who is nervous about baking at high-altitude to just get in the kitchen and try." Megan Clark

Clark’s first tip is to reduce your chemical leaveners, which in this case means baking soda and baking powder. These, she explains, create tiny bubbles that give structure and crumb to your baked goods.

“At altitude, because of the air pressure, they can create a lot of rapid bubbling and rise before the structure is fully baked, which is why things can collapse. If those are reduced, it can help with preventing that dreaded collapse,” explains Clark.

She suggests you start by making your favorite recipe and reduce the amount of chemical leavener called for by a quarter of a teaspoon. Don’t get too attached to the results, just see what happens when it comes out of the oven.

“Make notes and, if you want more rise, reduce it another quarter teaspoon the next time until you get your desired results,” recommends Clark.

Second, you should increase your liquids, which can help counteract the dry ingredients, such as flour.

“Not always, but generally, dry ingredients like flour have much less moisture because our air is also a lot drier. If I’m mixing something and it seems to be struggling to come together, I’ll add an extra egg or a little more liquid to help with that,” explains Clark.

The secret ingredient however, is a little tenacity. Don’t be afraid to roll your sleeves up and give high-altitude baking a go, even if initial results are less than desirable.

“I would tell anyone who is nervous about baking at high-altitude to just get in the kitchen and try. That’s how I learned. The results may surprise you,” encourages Clark. And, if you still need motivation, just think about that sweet reward when you finally get it right.

High-Altitude Banana Bread Recipe from Megan Joy

Ingredients

  • 2.5 very ripe bananas, mashed
  • 3/4 cup sugar
  • 2 eggs
  • 1 tsp salt
  • 1.5 tsp vanilla extract
  • 1/3 cup canola or sunflower oil
  • 1.5 cups all-purpose flour
  • 1/2 tsp baking powder
  • 1/4 tsp baking soda
  • 3 oz water

Preparation

    1. Preheat your oven to 350 degrees Fahrenheit.
    2. Grease a 9” x 5″ loaf pan, and line the bottom with a strip of parchment paper.
    3. In a large bowl, whisk together the banana puree, sugar, eggs, salt, vanilla and oil until smooth.
    4. Add the flour, baking powder and baking soda, stirring until just combined.
    5. Whisk in the water until the mixture is smooth. Pour into the prepared baking pan.
    6. Bake for about 40-45 minutes, or until the edges are golden brown, the center is peaked and a skewer inserted in the center comes out clean.
    7. Cool in the pan for five minutes, then invert onto a cooling rack.